Introduction
A hydraulic oil cooler plays a critical role in protecting your hydraulic system from the damaging effects of overheating. But like any mechanical component, it requires regular maintenance to continue performing effectively. Neglecting cooler upkeep can lead to reduced cooling efficiency, unexpected downtime, and even premature failure of expensive hydraulic components. This guide covers practical maintenance tips, common problems, and troubleshooting steps to help you get the most out of your hydraulic oil cooler.
Why Maintenance Matters
Over time, dirt, debris, scale, and general wear can reduce a hydraulic oil cooler’s ability to dissipate heat efficiently. A cooler that’s no longer performing at full capacity puts the entire hydraulic system at risk, since hydraulic fluid may run hotter than intended even though the cooler is technically still functioning. Regular maintenance ensures your cooler continues to perform as designed, protecting your pumps, motors, seals, and hoses from heat-related damage.
Routine Maintenance for Air-Cooled Hydraulic Oil Coolers
1. Clean the Fins Regularly
Dust, dirt, and debris can accumulate on the fins of an air-cooled hydraulic oil cooler, restricting airflow and reducing cooling efficiency. Use compressed air or a soft brush to gently clean the fins on a regular schedule, especially if the equipment operates in dusty or dirty environments like construction sites or agricultural fields.
2. Inspect the Fan and Motor
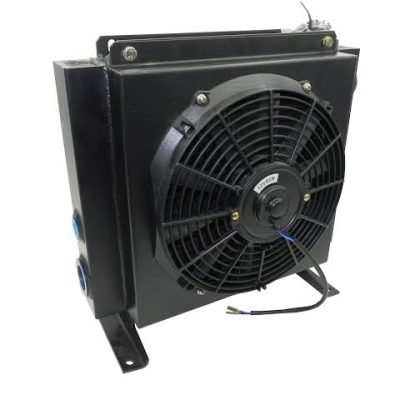
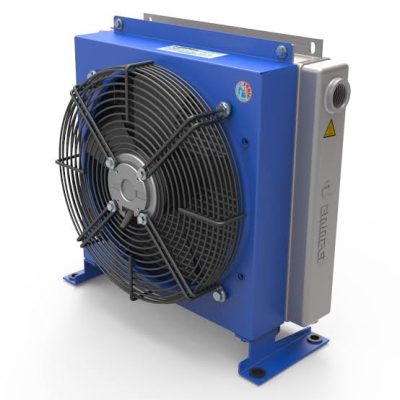
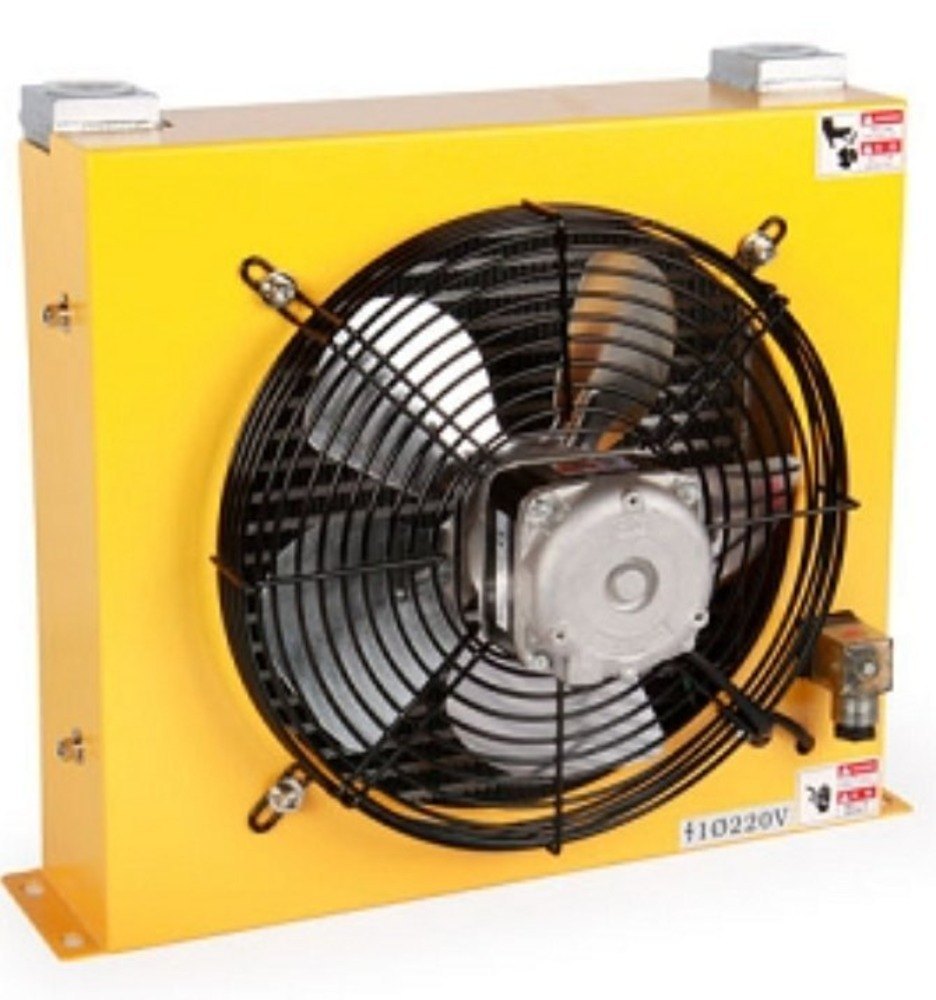
The fan is responsible for moving air across the cooler’s core, so it’s important to check that it’s spinning freely and at full speed. Listen for unusual noises, check for loose mounting bolts, and verify that the motor isn’t overheating during operation.
3. Check for Physical Damage
Inspect the cooler’s core and housing for signs of physical damage, such as bent fins, dents, or corrosion. Damaged fins can significantly reduce airflow and cooling capacity, so straightening or repairing them promptly can help maintain performance.
4. Verify Mounting and Airflow Clearance
Make sure the cooler has adequate clearance for airflow and hasn’t become obstructed by other equipment, debris, or buildup over time. Poor airflow clearance is a common and easily overlooked cause of reduced cooling performance.
Routine Maintenance for Water-Cooled Hydraulic Oil Coolers
1. Monitor Water Quality
Water-cooled hydraulic oil coolers are particularly sensitive to water quality. Hard water or water with high mineral content can lead to scale buildup inside the cooler’s tubes or plates, reducing heat transfer efficiency over time. Regularly test water quality and consider water treatment options if scaling is a recurring issue.
2. Check for Scale and Sediment Buildup
Periodically inspect the internal channels of the cooler for scale, sediment, or biological growth (such as algae in open-loop systems). Flushing the system with a descaling solution as recommended by the manufacturer can help maintain optimal performance.
3. Inspect for Corrosion
Depending on the materials used in construction, water-cooled coolers can be susceptible to corrosion, especially in systems using untreated or aggressive water sources. Regularly inspect fittings, tubes, and housings for signs of rust or pitting.
4. Verify Water Flow Rate
Confirm that water flow through the cooler matches the manufacturer’s recommended rate. Low water flow can significantly reduce cooling capacity, while excessive flow may not provide proportional benefits and could waste water.
General Maintenance Tips for All Hydraulic Oil Coolers
- Monitor fluid temperature regularly using a gauge or sensor to catch problems early
- Inspect hoses and fittings for leaks, cracks, or signs of wear
- Check mounting hardware periodically to ensure the cooler remains securely installed
- Follow the manufacturer’s maintenance schedule for inspections and servicing
- Keep maintenance records to track performance trends over time and identify recurring issues
Common Hydraulic Oil Cooler Problems and Troubleshooting
Problem: Hydraulic Fluid Running Hotter Than Normal
Possible Causes:
- Blocked or dirty cooler fins (air-cooled)
- Insufficient water flow (water-cooled)
- Fan motor failure or reduced fan speed
- Cooler undersized for current system demands
Troubleshooting Steps: Clean the fins or check water flow rate first, as these are the most common culprits. If the problem persists, verify fan operation and consider whether system demands have increased beyond the cooler’s original design capacity.
Problem: Reduced Cooling Efficiency Over Time
Possible Causes:
- Gradual scale or sediment buildup (water-cooled)
- Accumulated dust and debris (air-cooled)
- Aging components with reduced heat transfer capability
Troubleshooting Steps: Schedule a thorough cleaning or descaling. If efficiency doesn’t improve, the cooler may be reaching the end of its service life and could need replacement.
Problem: Fluid Leaks Around the Cooler
Possible Causes:
- Worn or damaged seals and gaskets
- Loose fittings or connections
- Corrosion or physical damage to the cooler housing
Troubleshooting Steps: Inspect all fittings and tighten as needed. Replace worn seals promptly, and address any corrosion before it leads to a more significant failure.
Problem: Unusual Noise from the Cooler
Possible Causes:
- Loose fan blades or mounting hardware (air-cooled)
- Worn motor bearings
- Debris caught in the fan or housing
Troubleshooting Steps: Turn off the system and inspect for obstructions or loose components. Replace worn bearings or damaged fan blades as needed.
When to Replace vs. Repair
Not every issue requires a full replacement. Minor problems like dirty fins, loose fittings, or minor scale buildup can typically be resolved through routine maintenance. However, if you’re experiencing recurring performance issues despite regular upkeep, or if the cooler shows significant corrosion, structural damage, or age-related wear, it may be more cost-effective to replace the unit rather than continue repairing it.
When it’s time to replace your cooler, take the opportunity to reassess your system’s current heat load and operating conditions, as equipment usage patterns may have changed since the original installation.
Building a Maintenance Schedule
A simple, consistent maintenance schedule helps prevent most hydraulic oil cooler problems before they start. Consider the following general guideline, adjusted based on your equipment’s duty cycle and operating environment:
- Daily/Weekly: Visual inspection for leaks, unusual noise, or obvious debris buildup
- Monthly: Clean fins (air-cooled) or check water flow and quality (water-cooled)
- Quarterly: Inspect fittings, hoses, and mounting hardware; check fan operation
- Annually: Thorough inspection, descaling if needed, and performance testing against manufacturer specifications
Conclusion
Regular maintenance is essential to getting the most out of your hydraulic oil cooler and protecting the broader hydraulic system it supports. By following a consistent maintenance schedule, addressing problems early, and knowing when to repair versus replace, you can avoid costly downtime and extend the service life of both your cooler and your hydraulic equipment. If you’re shopping for a replacement, taking time to compare a hydraulic oil cooler online against your system’s specific requirements will help ensure you choose a unit built to last.